
Garlands make your home become festive and give a great atmosphere during the season. While you can buy them from high street stores and department stores, they can often be expensive. Besides this, it is better to make your own from home. You can get the whole family involved and really enjoy the process. Here are 3 inexpensive Christmas garlands you can make yourself.
Holly and Silver Magnolia Garland
You can turn a traditional green and brown magnolia garland into something very special with the addition of some silver leaves and holly branches.

The best way to do this is by attaching the garland to your banister rail at home. From here, you just need to spray paint the branches of holly with silver paint. You can then add magnolia leaves to the garland, as and where you want, to give that special finish. After you have wired the holly branches together, you then simply add them to the garland on the banister rail.
Ice Crystal Garland
This garland looks best when it is hung over a picture, or a mirror. It would look great in the dining room, or in the main room of your home. The reflection in the mirror adds that extra special effect. Another good place is to hang it is around a window. You will need a sewing needle, some white thread, map tacks and crocheted snowflakes to make this garland.

Start by laying out a row of flakes together on the table. You can arrange the patterns to your own tastes. Now use the needle and white thread to sew them together, from one end to the other. Next, loop the thread back over the holes at the end a number of time, to give some security to the decoration. You can now simply hang your line of snowflakes up with map tacks.
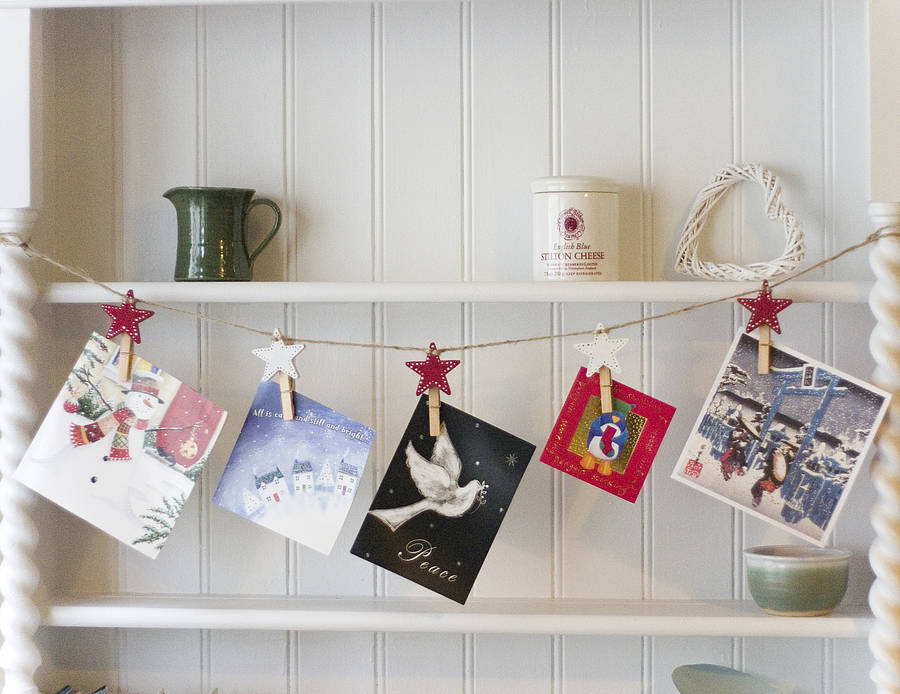
Greeting Card Garland
This is a great garland to make, as it can hang on your staircase, banister, or in a room. The combination of the garland and greeting cards adds that special touch to your home.

Start by coating one side of the clothespins with glue, and press it onto gift wrap. You now need to cut around the clothespins to remove the unneeded paper. Next, repeat on the other side. When you want to hang the clothespins you have created, clip them to some ribbon and hang it along the banister or staircase. You can now pin cards along the ribbon to complete the effect.

I love the Christmas card garland idea but took it a step further.
I keep all the Christmas cards we receive in a box and have kept them for something like this DIY crafting. The old cards can be attached to a a string with little twigs and what not, interwoven to give them a more festive look.
As much as I liked this idea, but felt all the different shapes and sizes of my cards looked a little chaotic in my opinion, so I decided to cut the cards into shapes, I tried circles first, cutting where the cards naturally is folded I cut a circle out, through both side of the cards, with the very top attaching the front from the back of the card. I then used a loop of Christmas colored bakers twine in red and green. I look the hanger around the connected top of the ball, then take a glue stick and glow both sides of the ball so that you are left with a ball shaped ornament with a hanger at the top. This can be decorated with colorful Xmas themed stickers or just as is.
For the garland I took a longer piece of the Xmas twine and alternated the circle ball shaped ornaments with these little 3 bead little hangers between each to give it a cool look that immediately draws the eye too it with all the festive colors of all the now recycled Xmas cards.
The other shape I made the cards into was a simple Xmas tree shape. But the balls were more fun to decorate, per my girls!